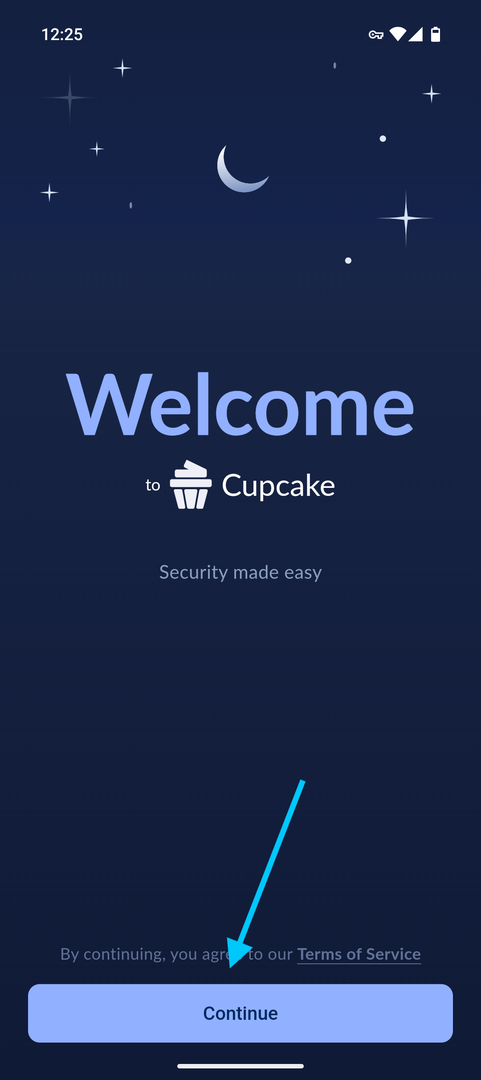
Getting started with Cupcake
Wondering how to get started with Cupcake? We'll walk you through the onboarding step-by-step, making it as easy as possible for you to up your crypto security game.
Creating a wallet
1
Walk through onboarding
Walk through (or skip) the initial onboarding help.
2
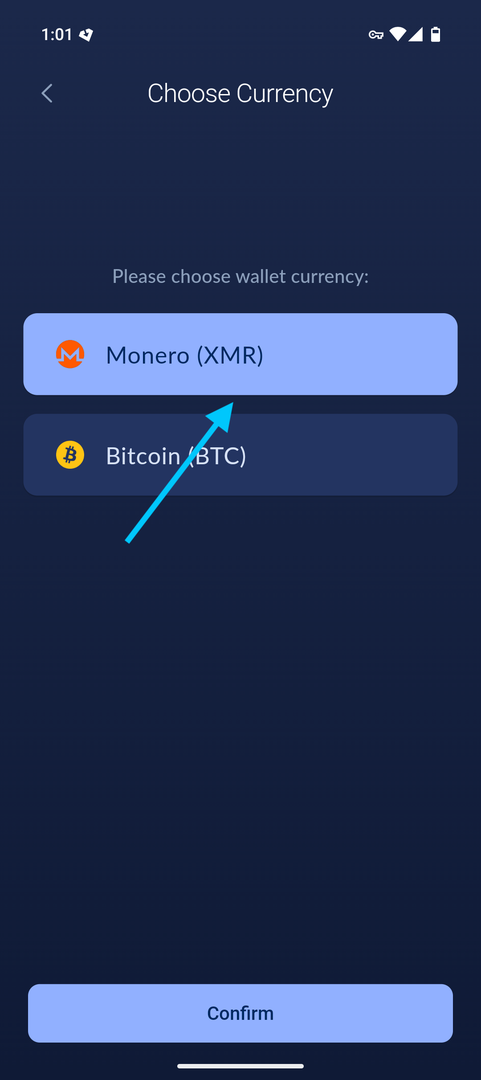
Choose your currency
Choose your currency.
3
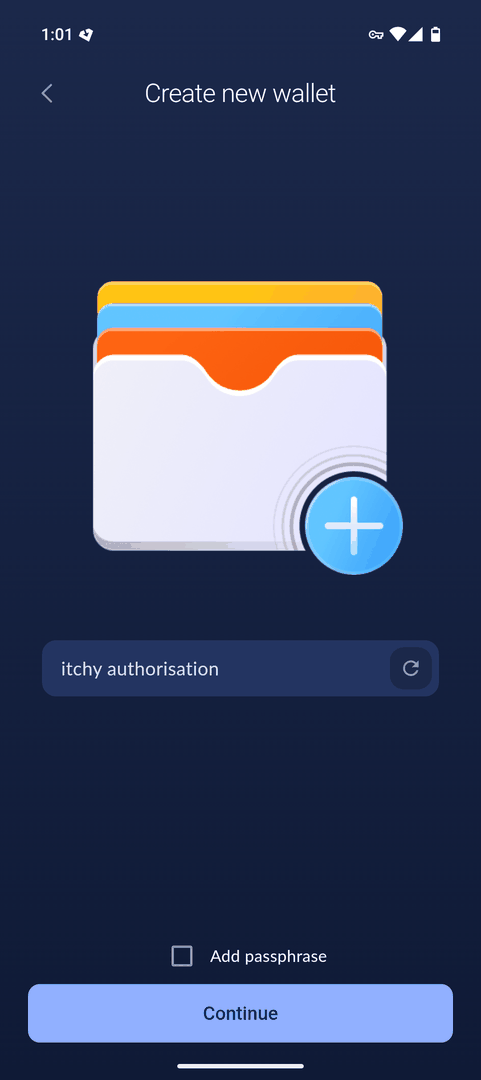
Create new wallet
Select Create new wallet.
4
Restore an existing wallet (optional)
Optionally, if you have an existing wallet you want to restore into Cake Wallet you can do that with Restore wallet.
5
Set PIN or password
Set a strong, random PIN code or password.
6
Name your wallet
Choose a name for your wallet, or hit the button to get a random name.
7
Save and verify seed phrase
Securely save your seed phrase, and then verify you've saved it properly.
Linking to Cake Wallet
As Cupcake has no access to the internet, to properly see your transaction history, balances, and to create and send new transactions you'll need to pair it with Cake Wallet.
1
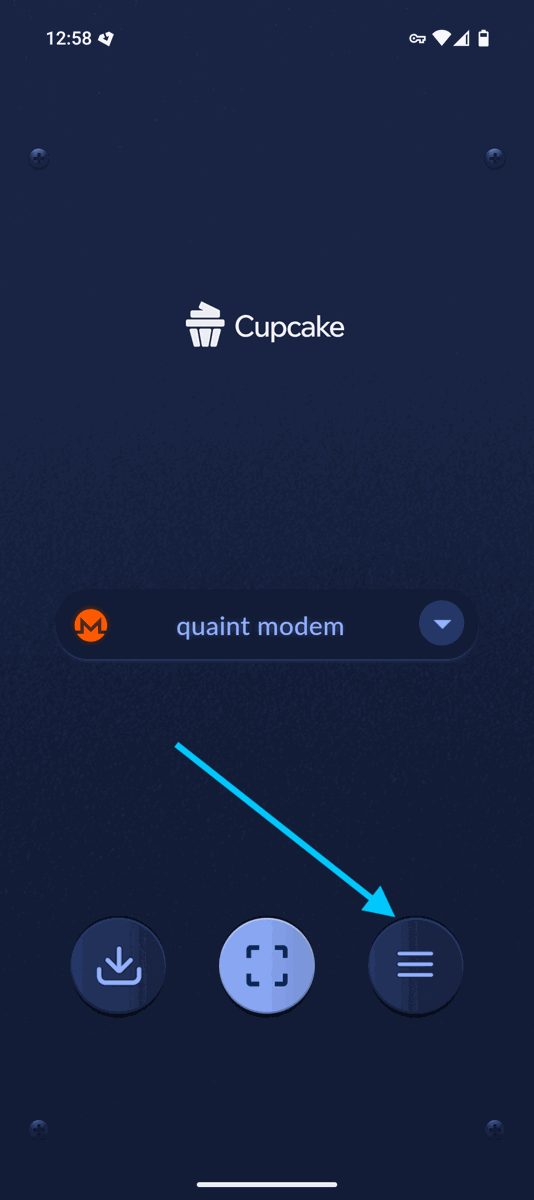
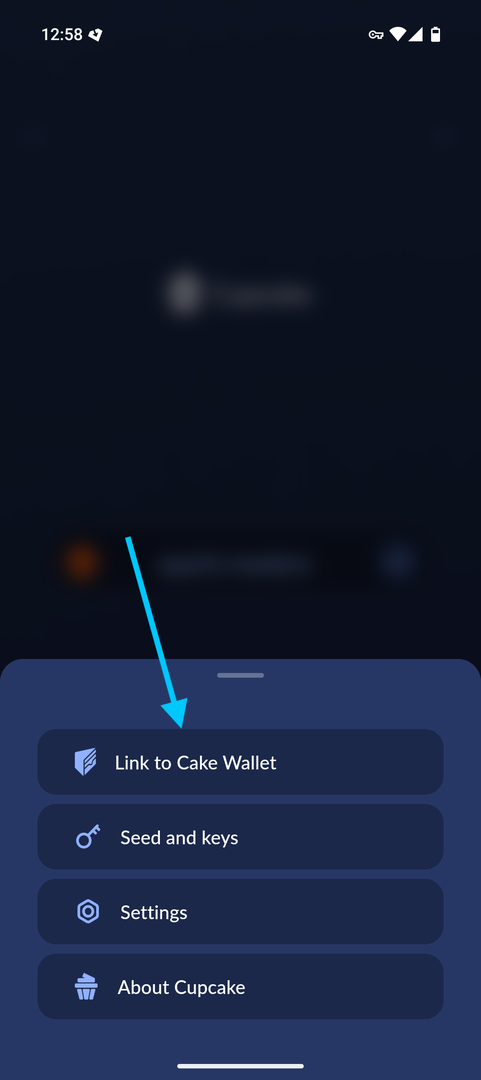
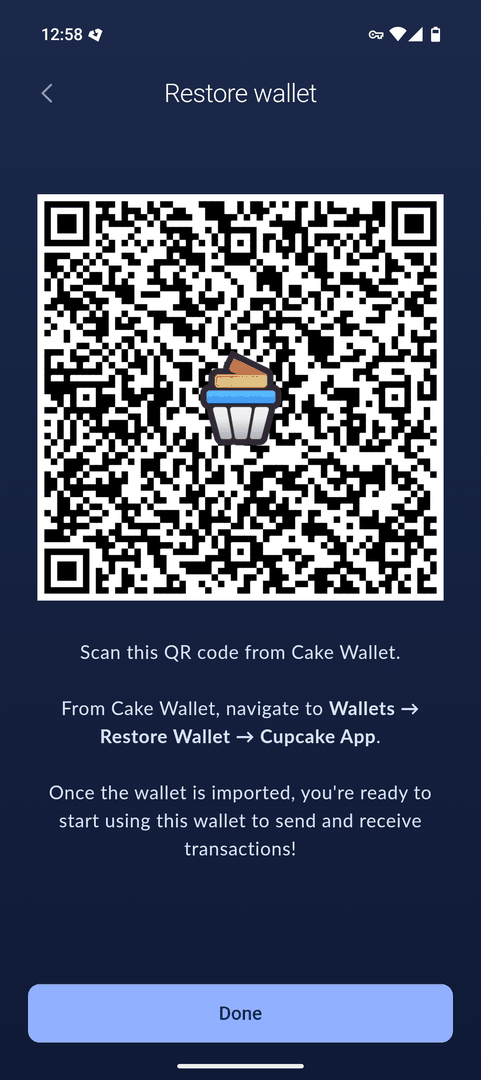
Open Link to Cake Wallet in Cupcake
To link with Cake Wallet, open the Menu and select Link to Cake Wallet. You'll use this QR in the next steps.
2
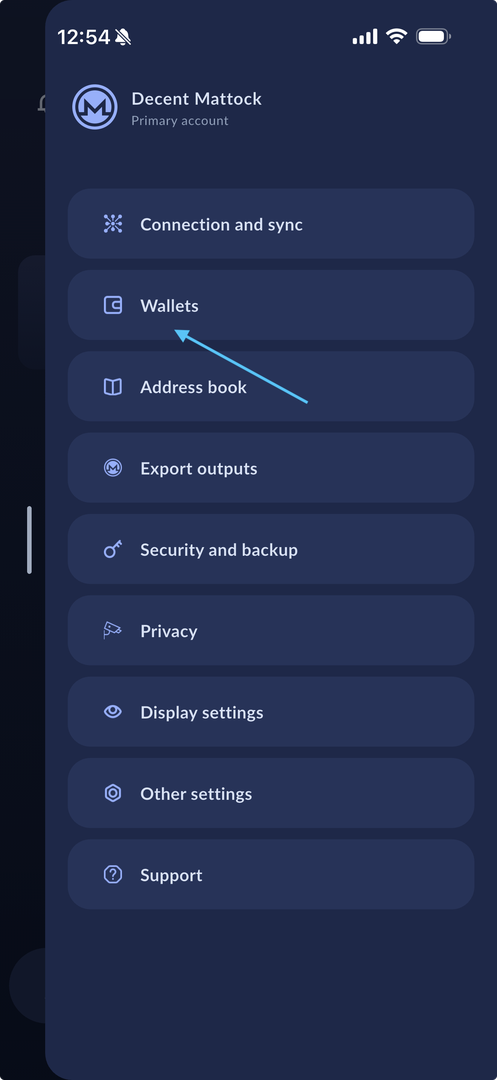
Open Wallets in Cake Wallet
In Cake Wallet, tap Wallets on the bottom navigation bar.
3
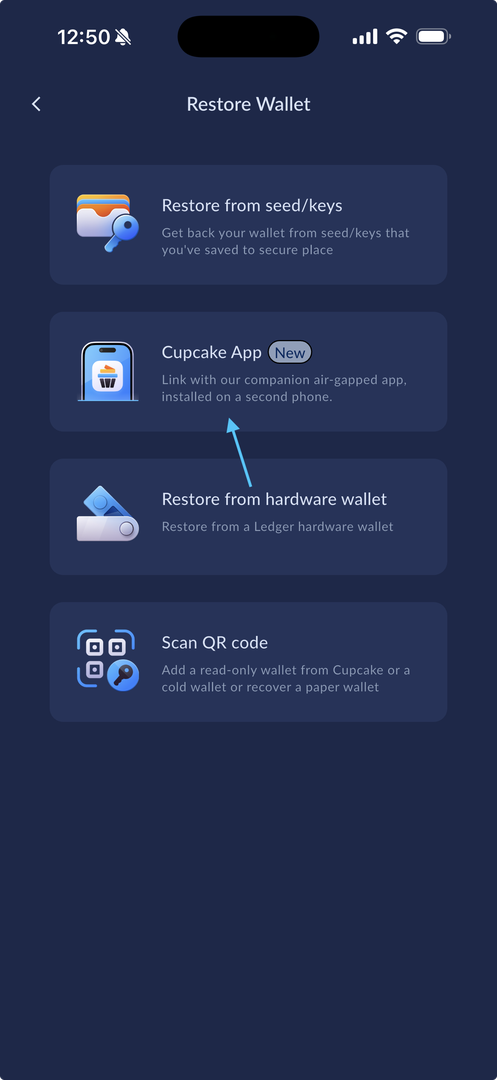
Restore Wallet → Cupcake App
Select Restore Wallet, then select Cupcake App.
4
Scan the QR code
Scan the QR code shown in Cupcake.
5
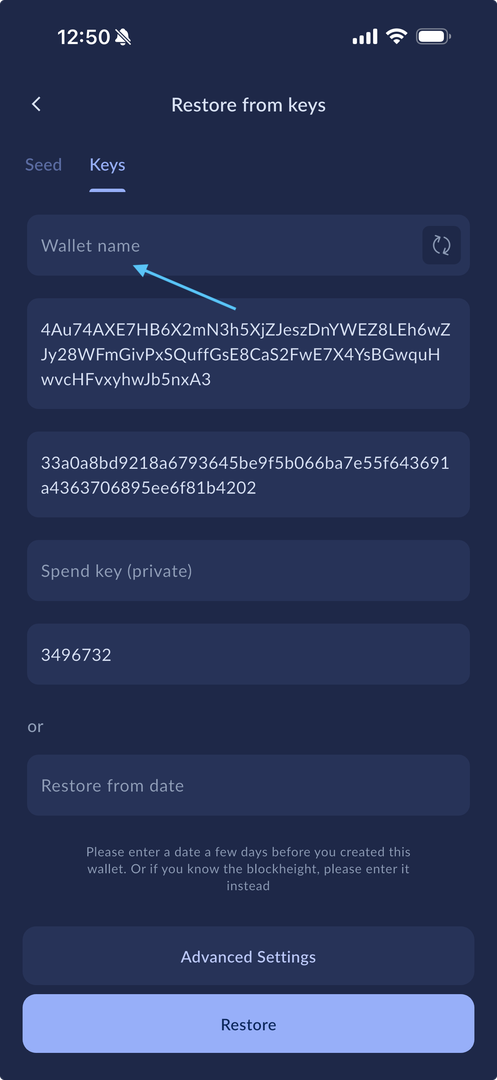
Name and restore
Name your wallet as desired, and tap Restore.