
Manage nodes
Your wallet doesn't hold the blockchain — it connects to a node that does. The node you use decides who sees your wallet's network activity, which makes this setting worth two minutes of your time: Cake Wallet's defaults work out of the box, and pointing the app at your own node gives you the strongest privacy available.
Switch nodes
Each currency has its own node list. Open Settings from the top right, then under Wallet settings tap Nodes.
The current node is marked, and Cake Wallet ships several presets per currency. Tap another node to switch to it; use the refresh icon to re-test the list.
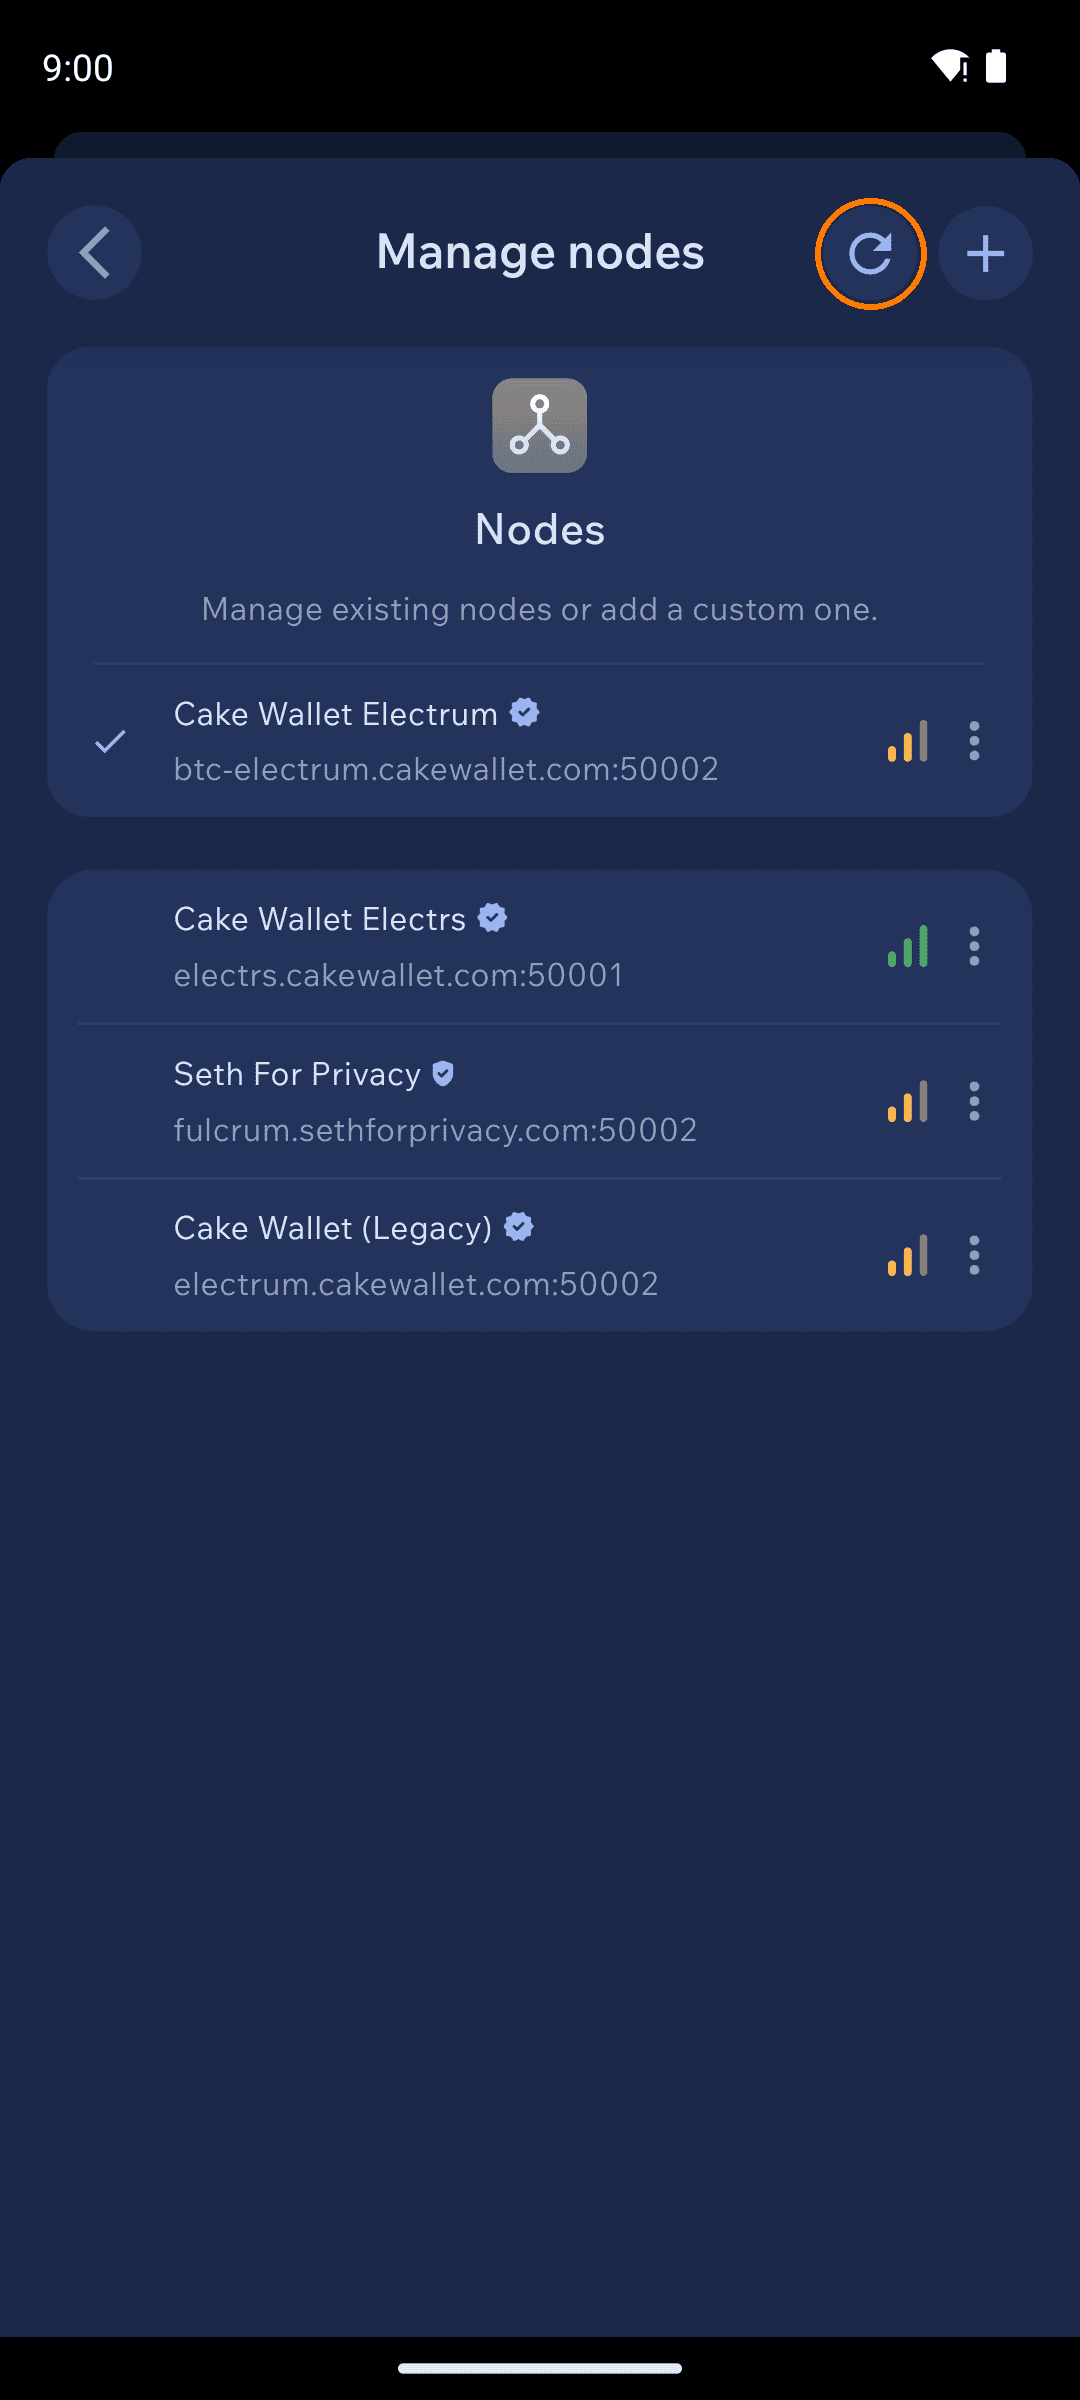
If your wallet won't connect or sync, switching nodes is the first fix to try — see Resolving connection issues.
Add your own node
1
Open the form
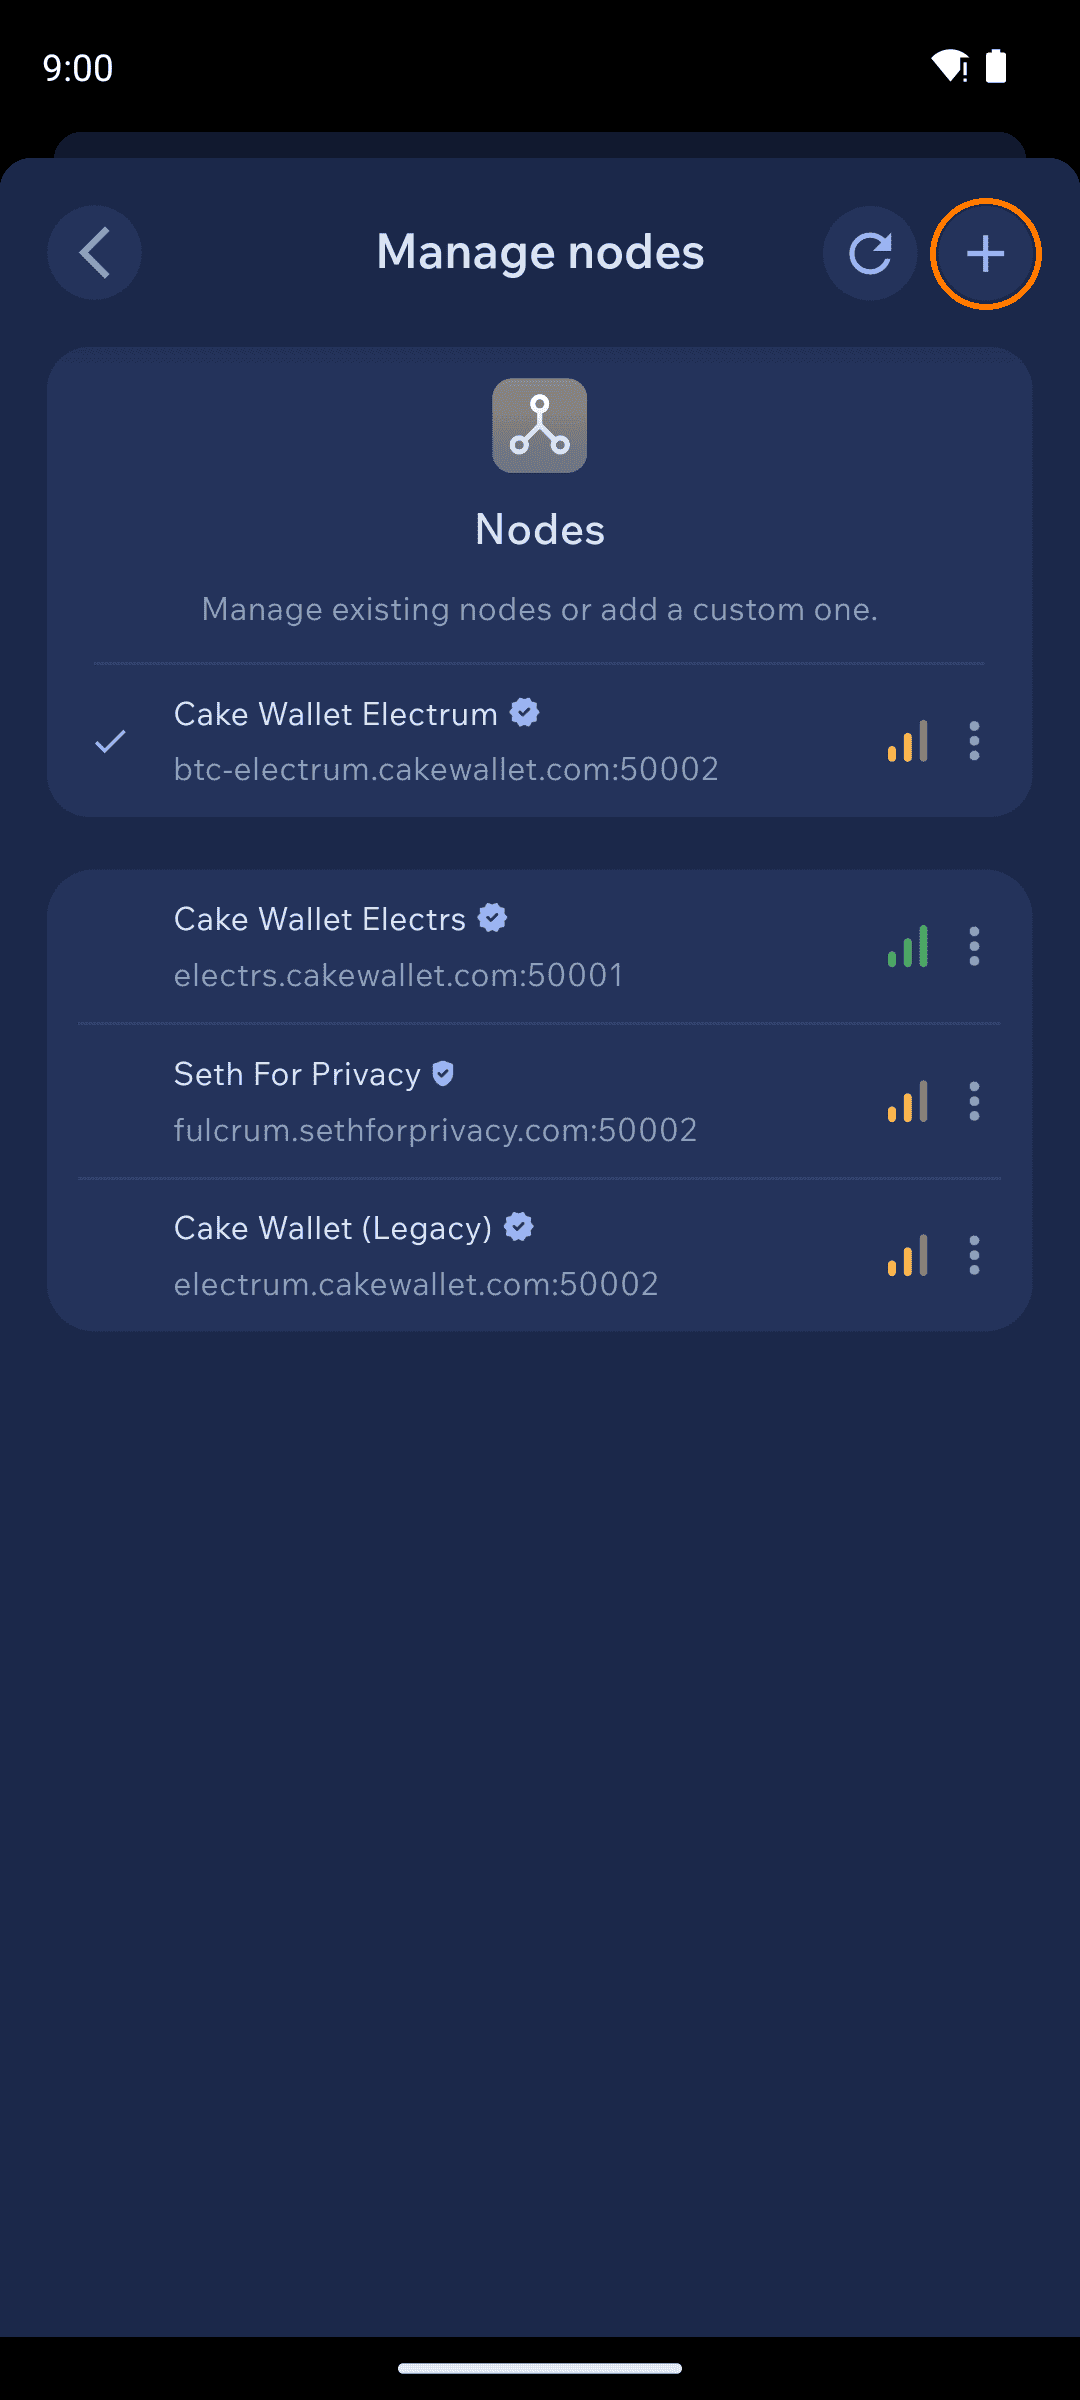
On the Manage nodes screen, tap +.
2
Fill in the details
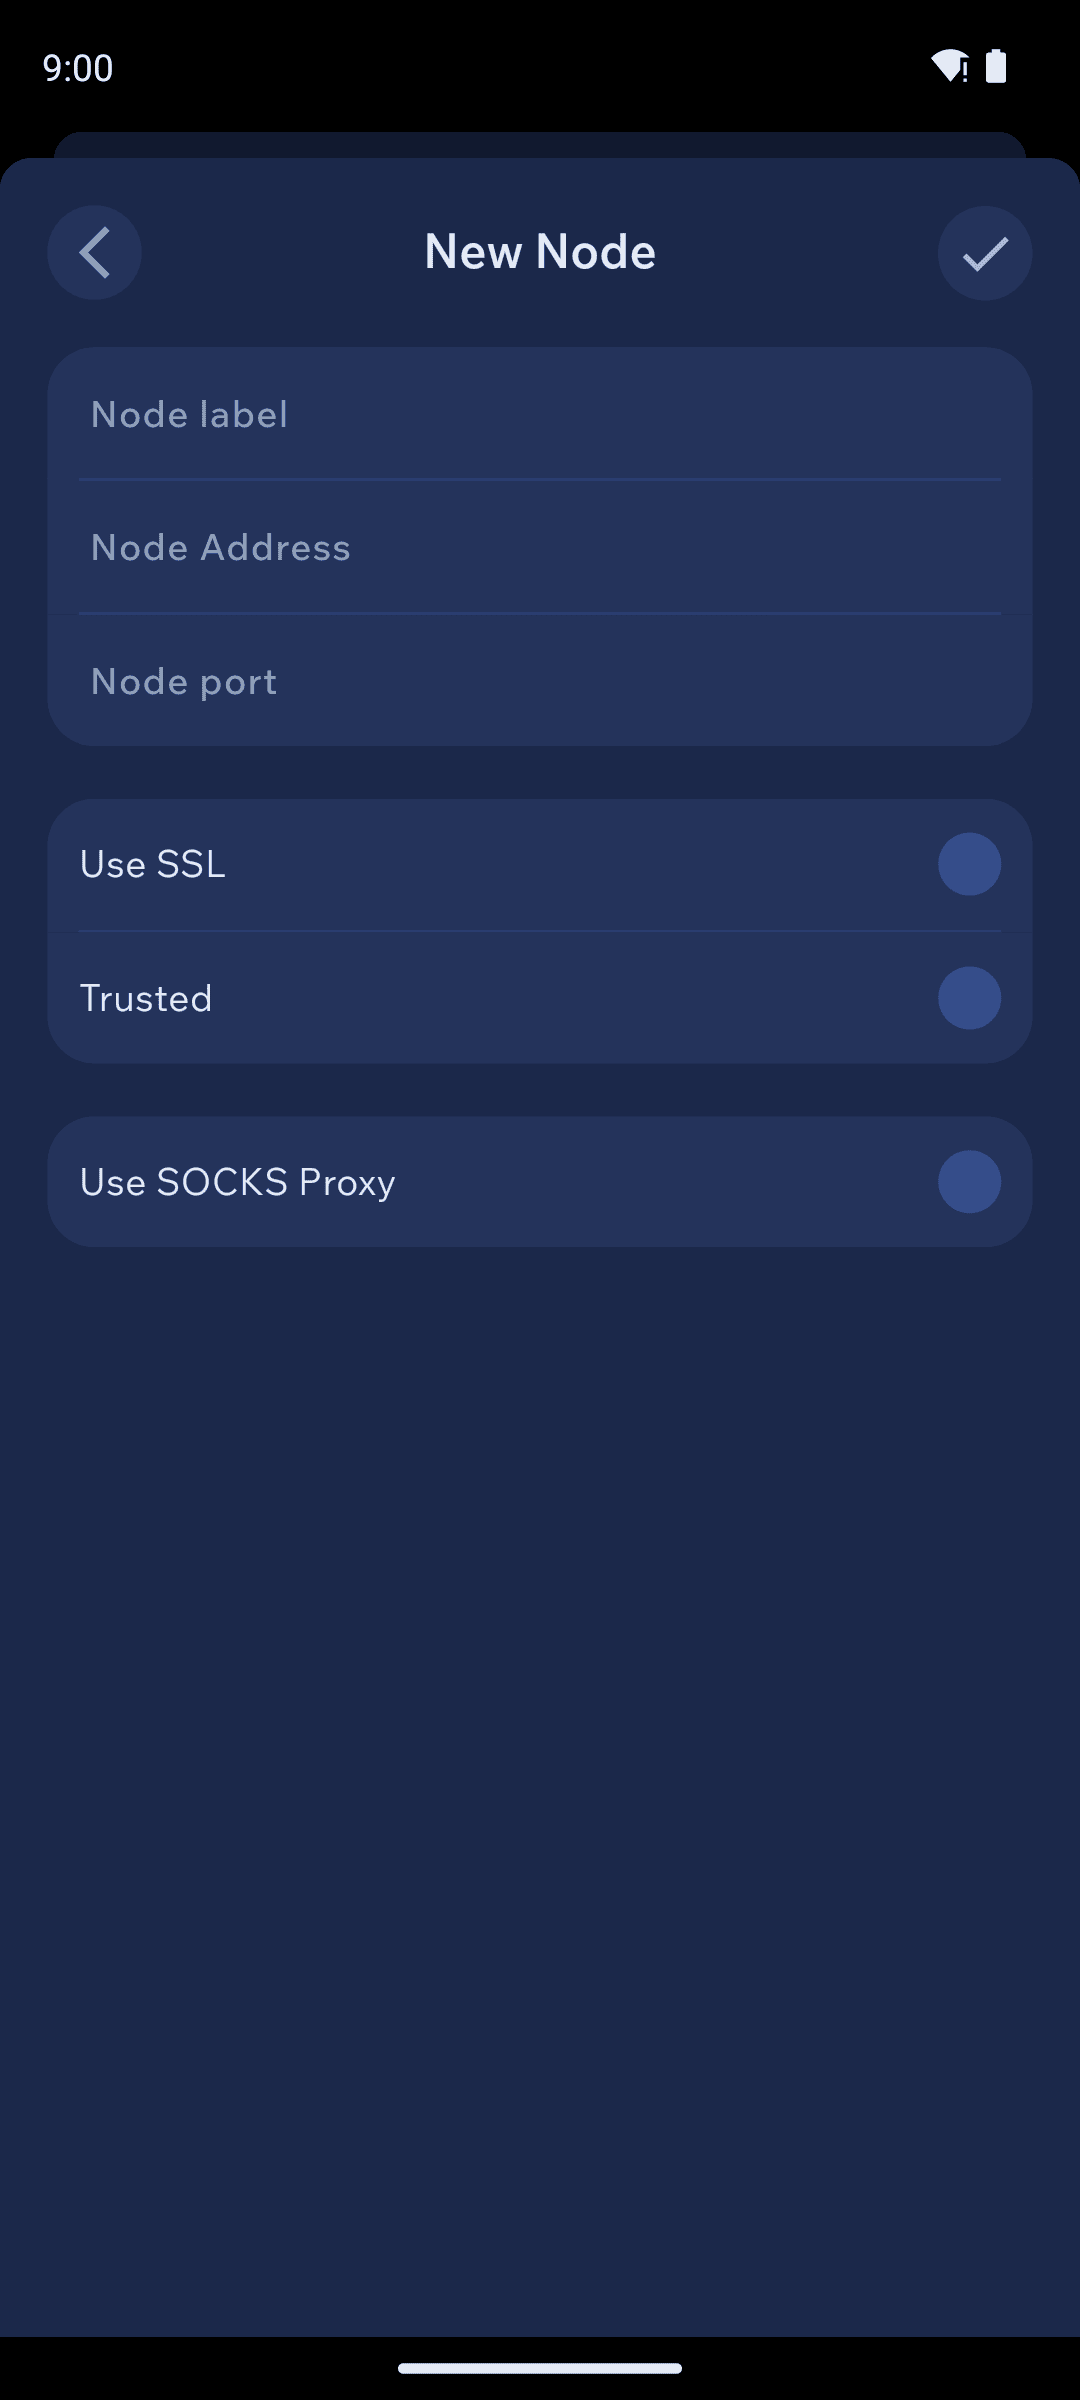
- Node label — any name you'll recognize.
- Node Address and Node port — e.g.
node.example.comand18081(Monero clearnet) or50002(Electrum-style over SSL). Add login and password only if your node requires them. - Use SSL — on if your node serves TLS (most public nodes on ports like 18089/50002 do).
- Trusted — turn on ONLY for a node you control. It tells the wallet to skip some defensive checks for faster syncing.
- Use SOCKS Proxy — route this node's connection through a proxy (for example Orbot's
127.0.0.1:9050for Tor; see Tor with Orbot).
3
Save and select
Save, then tap your node in the list to switch to it. If it shows as unreachable, double-check the port and SSL setting — the most common mismatch is SSL enabled on a non-SSL port or vice versa.
Run your own node
Using someone else's node means that operator can see your wallet's queries. Running your own removes that trust entirely — it's the single biggest privacy upgrade available:
- Monero: guides.monero.com and sethforprivacy.com/guides/run-a-monero-node
- Bitcoin/Litecoin: any Electrum-compatible server (Fulcrum, electrs)
Related settings
- Nano/Banano wallets have a separate
Manage PoW nodeslist underSettings→Connections(proof-of-work generation). - Litecoin MWEB uses its own node, set under
Settings→Privacy→MWEB→MWEB Node. - During wallet creation, the
Privacy settingsscreen lets you set a custom node before the wallet ever connects anywhere.